Single Sign-On
Configuring an IdP
To begin with, admin of Enterprise account needs to register the IDrive application with an IdP and get the single sign-on and issuer URLs and X.509 certificate.
Configure IDrive After receiving the URLs and certificate, admin needs to configure their IDrive account. This can be done via the IDrive web interface.
Configure IDrive Sub-account
Once IDrive Enterprise account is configured for SSO, Admin can enable single sign-on for his sub-accounts - via the IDrive web interface.
SSO Authentication Process
After SSO has been enabled for a sub-account, they can sign in from the IDrive desktop application.
- On the Sign in to IDrive screen, click Single Sign-On (SSO).
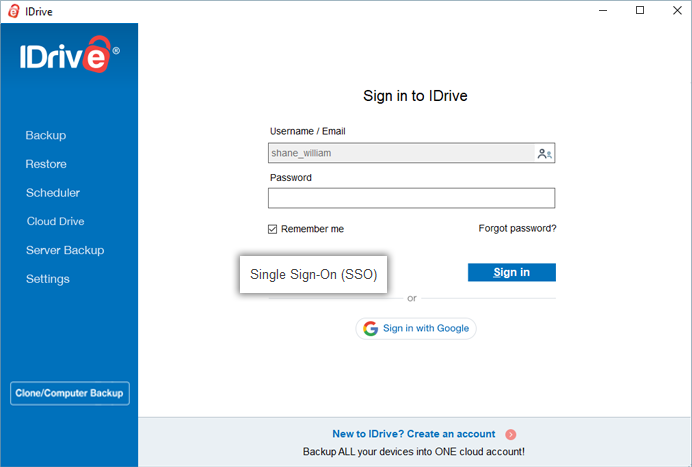
- Enter the Username / Email (as registered with the IdP), and click Sign in

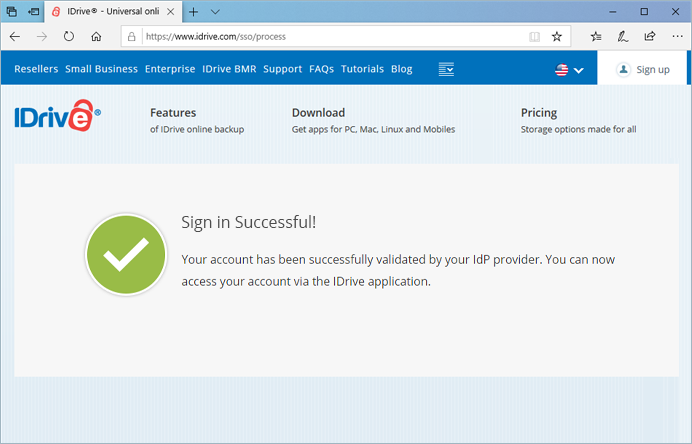
- You will be redirected to the IdP web sign in page and prompted to enter credentials.
- Enter the same username / email and password as has been registered with the IdP.
- Once the user identity is validated by the IdP, you will be prompted to go back to the desktop application and continue using your IDrive account.
To switch and sign in from another SSO enabled sub account,
- Sign out from your SSO account.
On the SSO sign in page, click against the Username field.
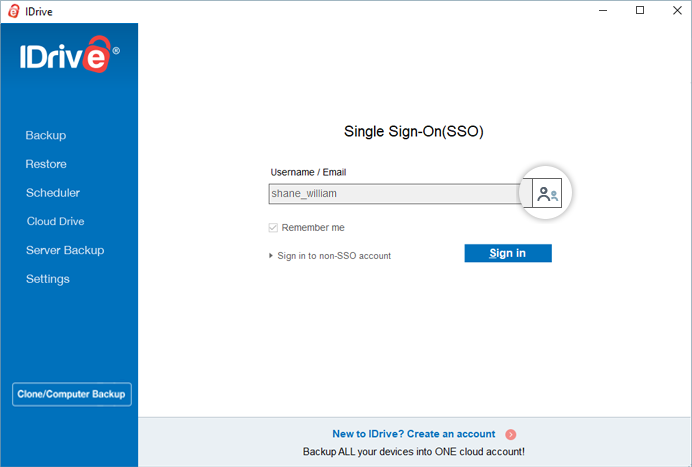
- A pop up appears. Click Yes to switch and sign in to a different SSO account.

To sign in to your regular (non-SSO) account,
- On the SSO sign in screen, click Sign in to non-SSO account.
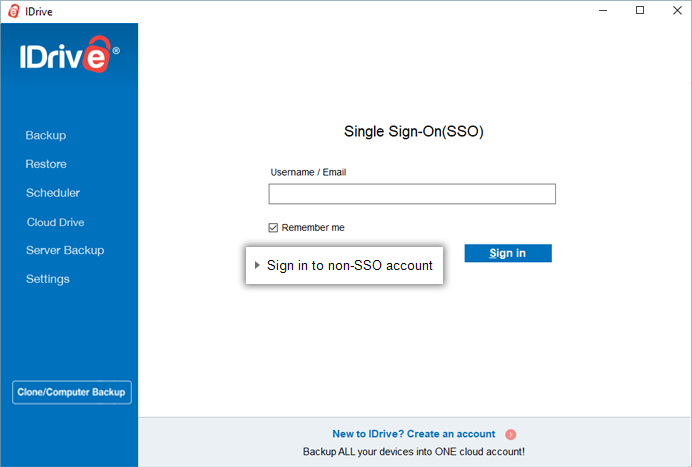
- Enter your credentials, and click Sign in.