OS and System Image Restore
To restore the OS drive / system image file to any hard disk and boot,
- Download and install the IDrive application. Sign in with your username and password.
Note: If you had set a private encryption key for your account, then provide the same here. - Click the Clone/Computer Backup button on the LHS.
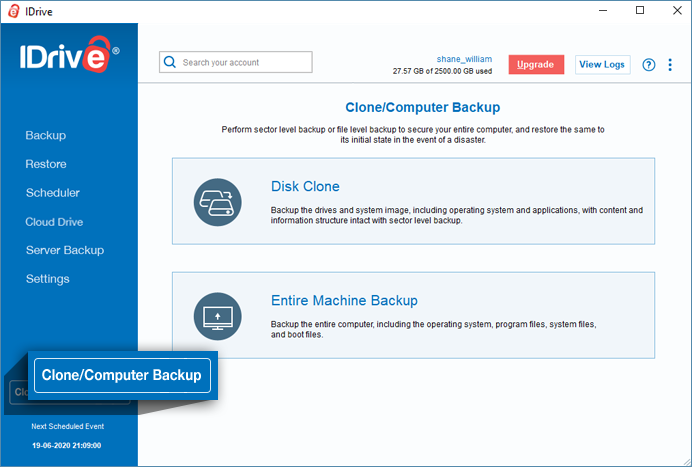
- The Clone/Computer Backup screen appears. Click Disk Clone.
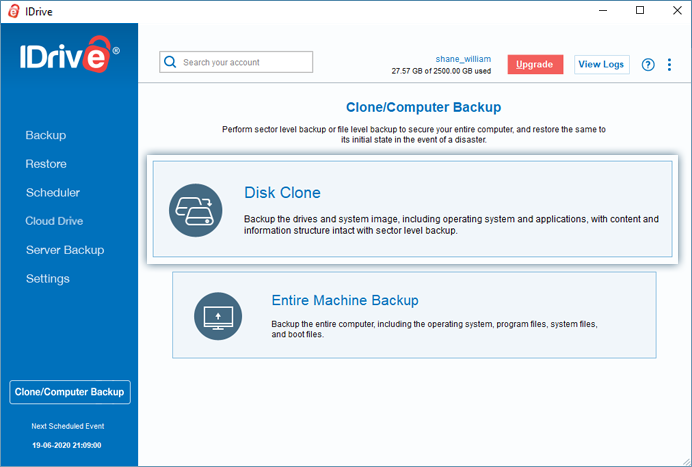
- Go to the OS/System Image Restore tab.
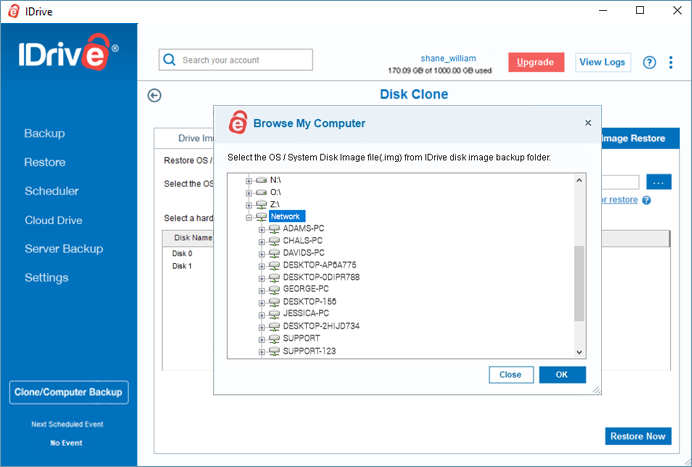
- Click
 and select the 'IDriveDiskImage' / 'IDriveSystemImage /'IDDriveImage' /'IDHDImage' folder containing the OS / system image file from your IDrive cloud backup account, local backup or Express backup and hard disk for performing the restore operation.
Note: In case you have performed local backup, where the system image backup on the local device is encrypted, you need to restore the encrypted Express or local backup folder to an external device to decrypt and then perform restore operation.
For OS Image:

For System Image:

- Click Restore Now.
Note: Restoring a OS / System image overwrites all the existing drive contents with the image file.
To restore a drive image file to the drive,
- Download and install the IDrive application. Sign in with your username and password.
Note: If you had set a private encryption key for your account, then provide the same here. - Click the Clone/Computer Backup button on the LHS.
- The Clone/Computer Backup screen appears. Click Disk Clone.
- In the Disk Clone screen, go to the Restore Drive Image Data tab.
- Select the Restore Drive Image Data tab.
- Click and select the drive image (.img) file from IDriveDiskImage / IDDriveImage folder downloaded from your IDrive cloud backup account or local backup, to perform the restore operation.
Note: In case you have performed local backup, where the drive image backup on the local device is encrypted, you need to restore the encrypted Express or local backup folder to an external device to decrypt and then perform restore operation.
- Choose the desired drive for restoring the drive image.

- Click Restore Now. After restore is complete, click View Logs to view the restore details.
Note: Restoring a drive image overwrites all the existing drive contents with the image.
Restore OS drive / system image from a NAS / mapped drive
To perform the OS drive / system image restore from a NAS / mapped drive,
- Click the Clone/Computer Backup button on the LHS.
- The Clone/Computer Backup screen appears. Click Disk Clone.

- Select the OS/System Image Restore tab, browse the IDriveDiskImage / IDriveSystemImage / IDDriveImage / IDHDImage backup folder from the NAS / mapped drive containing the OS drive / system image backup file (download the respective folder from your IDrive account to a network computer).
- Then, enter your username and password for network drive authentication.
- Select a hard disk to restore the system image.
- Click Restore Now.
- Once the restore is completed, select your hard disk in BIOS and boot your computer, to get your system ready.
To perform the OS drive / system image restore from a Network Computer,
- Click the Clone/Computer Backup button on the LHS.

- The Clone/Computer Backup screen appears. Click Disk Clone.
- Select the OS/System Image Restore tab, browse the IDriveDiskImage / IDriveSystemImage / IDDriveImage / IDHDImage backup folder from the network computer containing the OS drive /system image backup file (download the respective folder from your IDrive account to a network computer).
- Click
 . The Browse My Computer popup will appear. Click Network and select a computer.
- Enter your user name and password for network authentication.
- Select the OS/System Disk Image File from the network location.
- Select a hard disk to restore the drive / system image.
- Click Restore Now.
- Once the restore is completed, select your hard disk in BIOS and boot your computer, to get your system ready.
To perform the OS drive / system image restore from a Network / NAS Location,
- Click the Clone/Computer Backup button on the LHS.
- The Clone/Computer Backup screen appears. Click Disk Clone.
- Select the OS/System Image Restore tab, for selecting the OS drive / system image backup file (download the IDriveDiskImage / IDriveSystemImage / IDDriveImage / IDHDImage folder from your IDrive account to a Network/NAS location).
- Click Verify access to network location for restore. The Network Details pop up will appear.
- Enter the UNC path ("\\IP Address or Computer name\dir") of Network\NAS location, your username and password for network authentication.
- Select the OS/System Disk Image File from the network location.
- Select a hard disk to restore the disk image.
- Click Restore Now.
- Once the restore is completed, select your hard disk in BIOS and boot your computer, to get your system ready.